Sunday, April 29, 2012

Nails

Pretty nails
Pretty nails say a lot about a person. You take the time to care about yourself. Taking care of your nails is important. Cleaning under your nails should happen daily, especially before and after you cook or when you have been playing outside. You DON'T want to know what can be under there. Wait, maybe you do... Dirt (that we can see), germs from cleaning up after using the bath room, raw meat (after cooking) and if you forgot to use a Kleenex well that can be under there too. No one wants any of that to go anywhere near your mouth. So wash your hands often and remember under your nails!


I have wood tables at my house, so before you start working on your nails cover your work space with plastic. I use a new trash can liner, you know... a garbage bag.


I cover the plastic with an OLD, not a nice or new one, towel. Ask first to know which one you can use. This feels better than the plastic and helps with any spills.


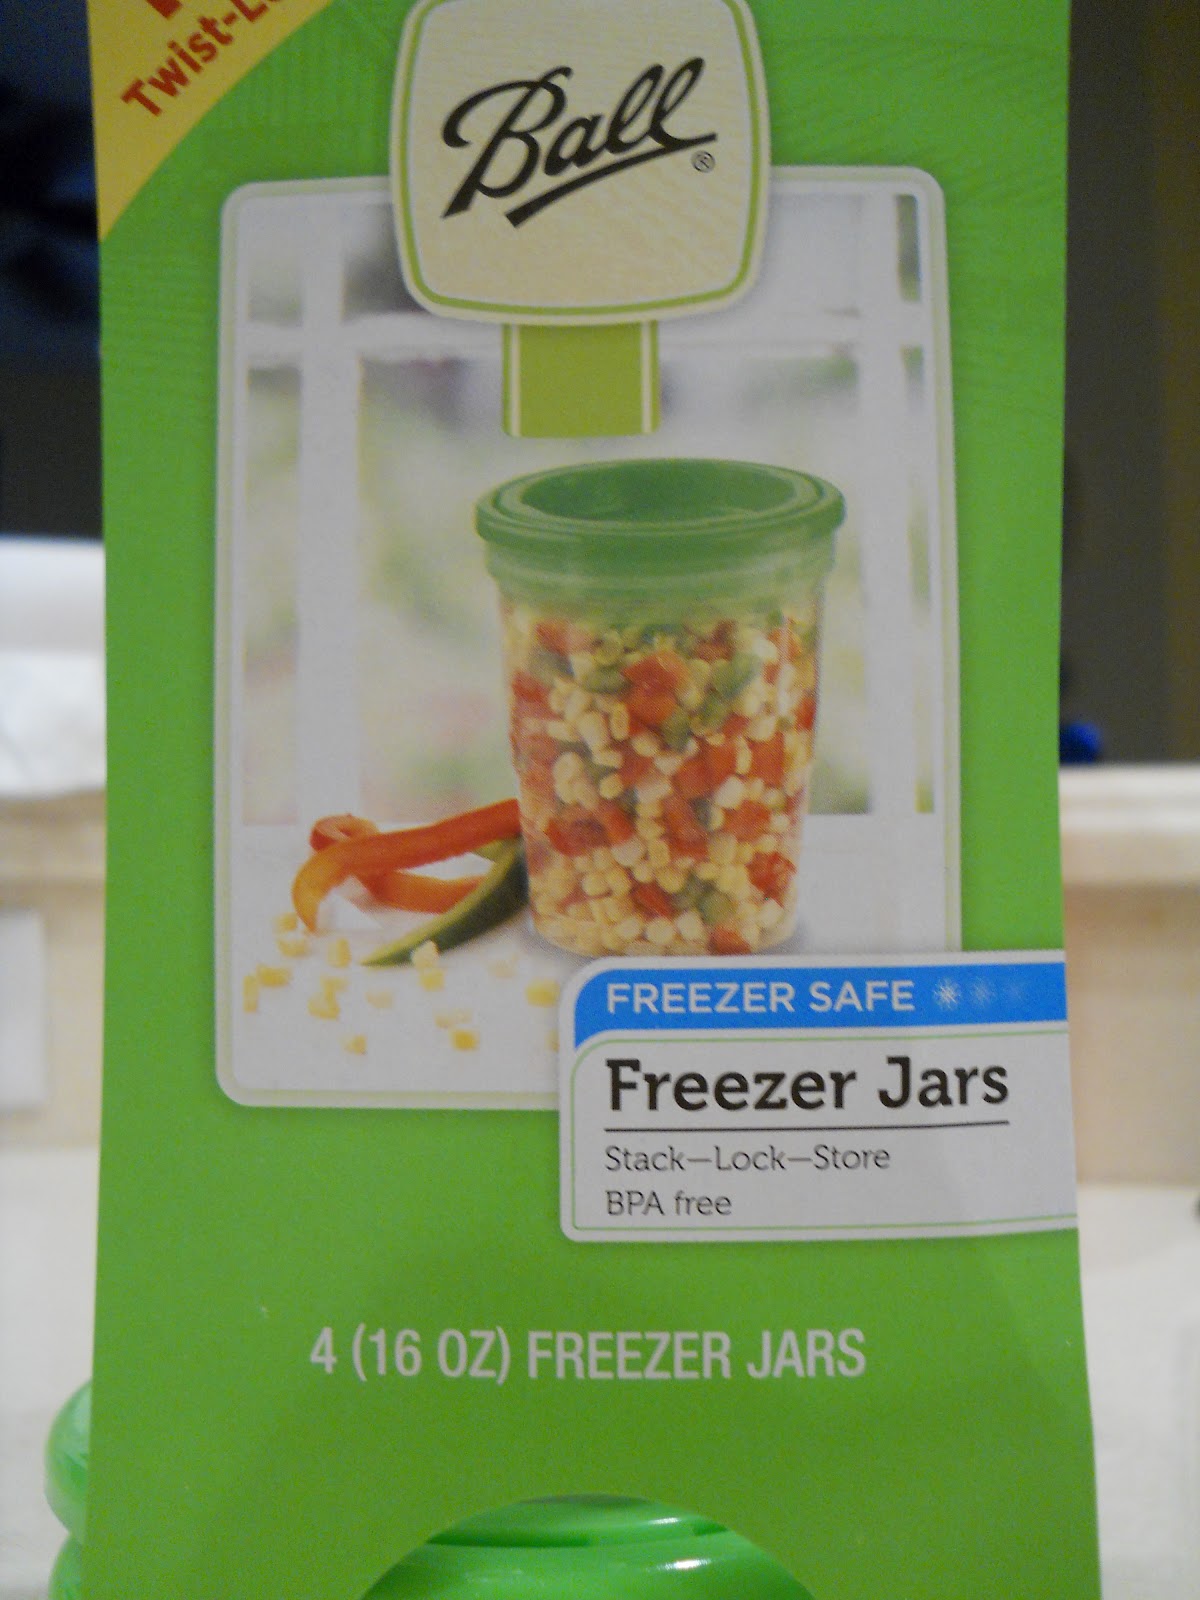
Here are the supplies I used: nail clippers, emery board, orange stick, nail brush, cuticle remover, clear top and bottom coat polish, nail oil and blue nail polish. I wanted it to show clearly.


Chipped nails aren't pretty.


Remove old polish.

That looks better already.


 Now wash your hands, use a nail brush to get under your nails.


After you've washed them you think they are all clean, right? Take an orange stick (I'm not sure why they are called this as the color isn't orange... maybe it is made from the wood of an orange tree.. I don't know. Do You?) and clean under your nails, see what got left behind.


Icky!
Clean under all of your nails, then clean the orange stick, it gets used more.


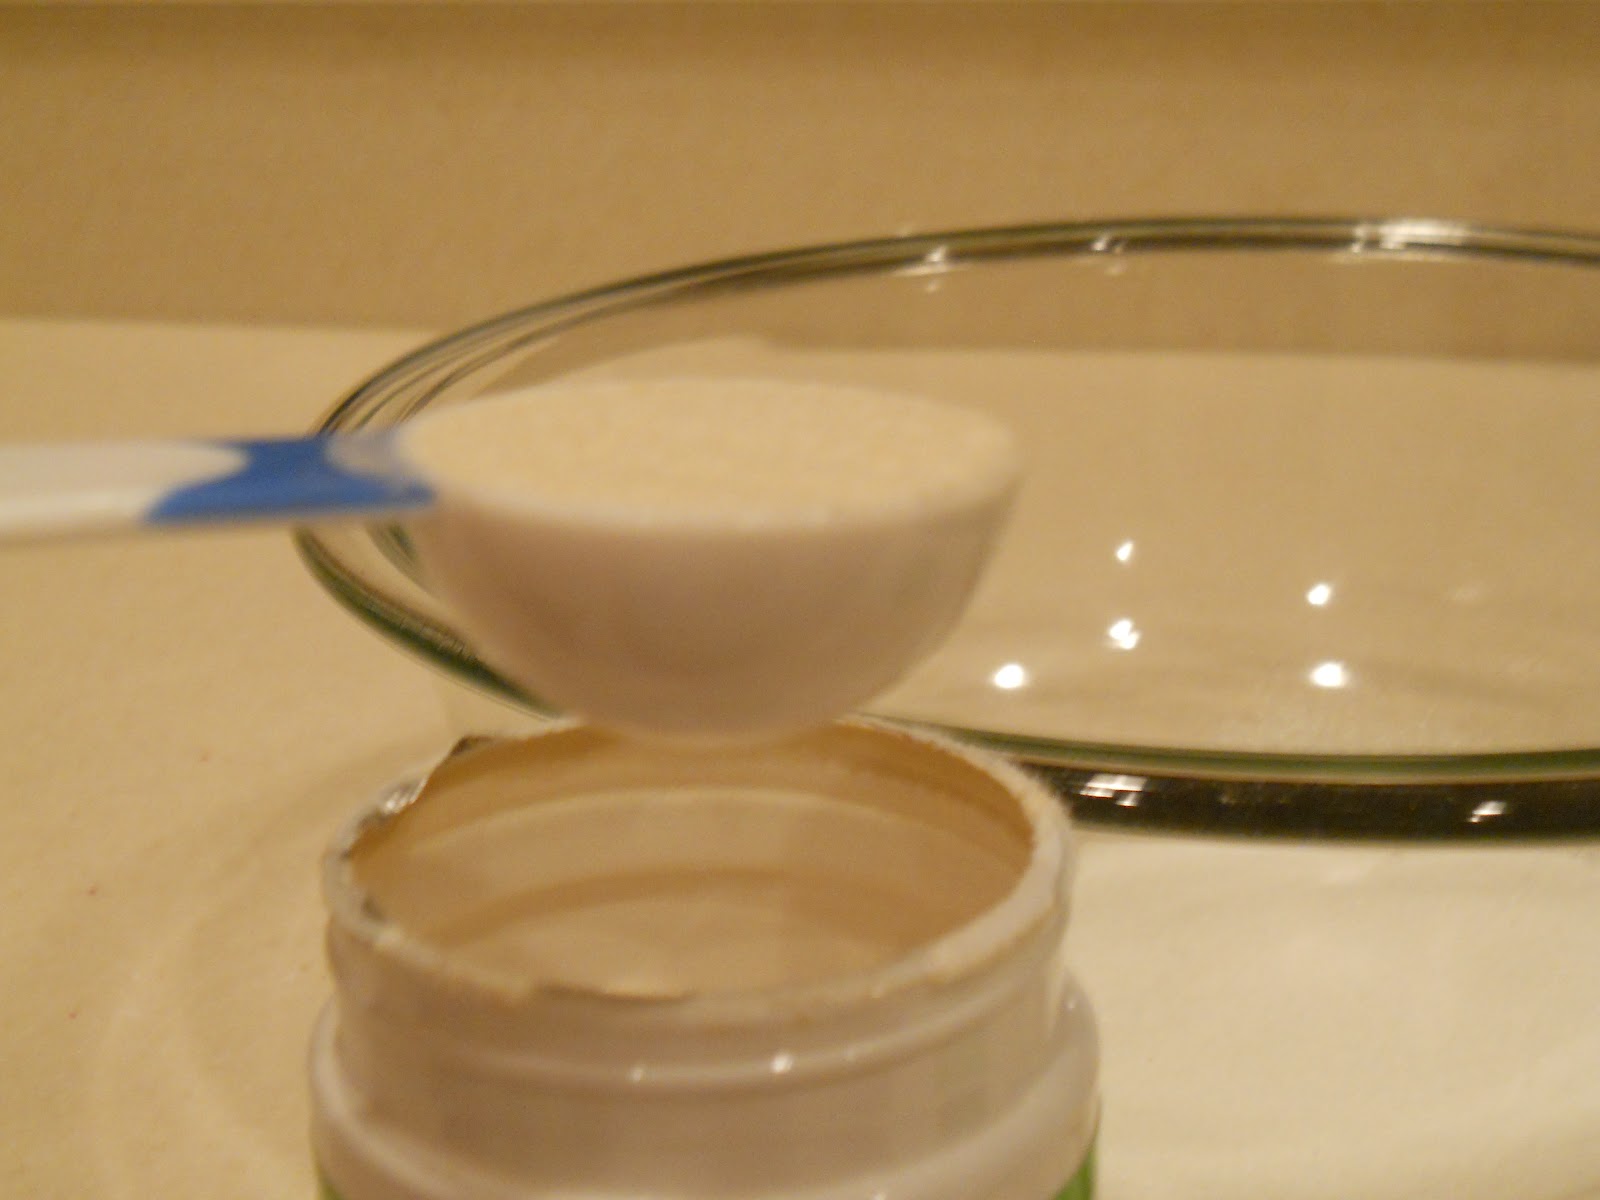
Apply cuticle remover to base of nail, (where they grow from at the bottom).
 PLEASE follow the direction on the product.


Using the orange stick gently push back cuticles, be careful this can hurt if you push to hard or to far.


Wash again using nail brush, with soap, to wash off all of the cuticle remover. Never leave cuticle remover on nails. It must be washed off.


After washing off the cuticle remover I apply a nail oil to moisturize my nails and cuticles.
 This brand is all nature oils.


Rub oil into cuticles and nails.


Using an emery board, or file, takes practice. Discovering the shape you like and how long you want your nail takes time. Experts recommend a blunt flat topped nail.

 I like mine with just a little curve to them. Length depends on you and how well you take care of your nails.


After you file and shape your nails it is time to wash them again, removing all the file dust from your nails and cleaning under them to make sure you didn't miss something. Wash them really well so you get a nice polish to them.


Dry your hands and nails well. Start with a clear base coat. Begin a 1/3 of the way down your nail.


Gently push the brush to the base of the nail without touching skin, now pull the brush to the tip of the nail. Repeat until all of the nail is covered. Let dry, this will take time.


The color coat is the same. Start 1/3 way down your nail, push to base without touching skin pull to tip of nail. Repeat until covered. Let dry.


Okay... getting it right takes practice, boo boos will happen. Remember that orange stick. Well once your nails are dry we are going to use it again.


Using a small piece of cotton from a cotton ball wrap it around the tip of the clean orange stick. Dip the cotton covered end into polish remover.


Carefully use the orange stick to remove boo boo.


Finish with a top coat of clear polish. This project takes time. don't rush it or you will not like the results.

Very pretty nails!

After your pretty nails are all dry, please clean up your mess so you can do this again.

A taste of Summer

A taste of summer! Blackberry jam, yummy!


Here is what you need: Fresh ripe blackberries, instant "Ball"pectin (no cooking needed), sugar, freezer jam jars. I used "Ball".


This is a large 16 oz. I have a big family. Smaller ones would also work.

First wash the freezer jars in hot soapy water. They need to be very clean. Also wash bowl,whisk, ladle, measuring cup and spoon. The next step you need help with. I raised my jars with water I had just boiled, to get rid of germs.

On a clean cloth let the jars air dry.

Using cool water, raise the berries carefully. Move them gently around so all of the berries get clean. Check for any stems, yucky berries and under ripe berries and remove them.


Starting with a just a few berries smash them with a potato masher. No whole berries should remain.


Add more berries and smash them.


All the berries should be smashed well.

Measure out 1 and 2/3 cups of the smashed berry pulp.

This recipe call for 2/3 cup of sugar. Measuring cups only have a 1/3 cup.

Add two 1/3 cups of measured sugar.

Sugar amounts in jam make a BIG difference in the out come of the jam, so level the sugar to the top of the cup.

Pectin is what makes jam, otherwise you would have sweet smashed blackberries that would run off your toast. Pectin makes it thick enough to hold together so it spreads on toast.


This recipe calls for 2 Tablespoons of pectin.


Level the pectin with the top of the spoon.


Mix the pectin and sugar together.


It should look one color instead of white sugar with off white pectin. Mix it thoroughly.


Adding the 1 2/3 cup of berries to sugar/pectin mix. Stirring while adding the berries.

When mixing the berries and sugar together make sure you are getting to the bottom of the bowl. Sugar and pectin need to be all mixed in with the berries.


Stir the jam for 3 minutes.


Ladle jam into jars carefully, trying not to drip. But remember drips clean up so don't stress.


I filled to jars with my blackberry jam.


Leave space at the top of the jar so the lid will fit on.

Let set for 30 minutes, then either freeze or refrigerate.
You have just made jam!

Now you can enjoy a taste of summer anytime. Use in sandwiches, top ice cream with it but as for me, I like mine on toast.

Wednesday, April 18, 2012

Browning Ground Beef


Browning ground beef is a useful cooking skill. Ground beef can be used in so many dishes. After I make this batch I'm making Taco Salad, but you could make tacos, burritos, spaghetti sauce, lasagna, Sloppy Joes and much more!


You will need a skillet/ frying pan
A (we call it a pancake turner) metal turner-WARNING: DO NOT USE ON NON-STICK PANS!
1 pound of ground beef
salt and pepper to taste ( I just give about 5 shakes)
1Tablespoon dried onions
1 teaspoon dried garlic
1/4 teaspoon cumin
1 Tablespoon of oil, I used sunflower oil but you can use vegetable oil
Also a large bowl and metal strainer


Get your parents permission before you cook, maybe even their help!

Always wash your hands before you cook and after you touch raw meat or raw meat packaging.


Turn the burner (you know the thing you cook on that gets hot...lol, I know you know this but just to be sure) The burner should be as close to the size of your pan as you can get; too small a burner and you food won't cook evenly, to large for your pan and you could get burned. By the way, being burned hurts, as my girls say "If it hurts, Don't do that!" 

Place the pan on the burner. Turn to medium high heat, if using gas turn the flame to medium.


You want the pan to start getting warm before you add the oil, warm not hot. Wait about a minute.
Add oil and let oil heat in the pan for a minute.


Add the ground beef, be careful remember the pan and oil are hot.


Be careful! Grease from the oil and the beef can splatter. So take a lot of care when adding the beef.

Time to start seasoning.
I start with salt, if you want to measure use 1/4 teaspoon or shake 5 times.


Also add pepper, I like pepper so I shake 5or 6 times.


Add the dried onions.


Add dried garlic.


Add cumin, a spice that adds a smoky flavor.


After added all of your spices mix it together and begin to break up the  meat with the tip of the turner.


With heat on medium to medium high cook ground beef for 10 to 15 minutes. Until you see no pink in the meat.


Here comes a trick part. Draining the beef. I use a large bowl and a metal strainer.


You don't want all of that fat in your food. I know I added oil to begin with, but that was because I didn't want it to stick to the pan.


You can now choose how to uses the beef. I'm making taco salad for dinner. You can either buy a taco seasoning mix at the store or make your own. I'm making my own.


Using the same pan add the beef,
3/4 cup of water
1/2 Tablespoon of chili powder
1/4 teaspoon Ancho chile pepper powder
1 teaspoon of onion powder
1/2 teaspoon garlic powder
1/2 teaspoon cumin
1/4 teaspoon black pepper

Add beef to pan with water on medium-high heat


Mix the spices together.   


Add to spices to beef


Bring to a simmer. A simmer is a slow small boil. You should see small bubbles form and pop.


Simmer until all liquid has become a sauce instead.

I really like taco salad.
Layer mixed salad greens
Crushed corn chips
Black beans and taco meat
Cheese
Salsa and sour cream.
Yumm!